
At Zesty Paws®, we care just as much about our planet as we care about pets! That’s why we are head-over-paws for sustainability and upcycling.
With our colorful jars and bottles, all sort of fun ideas can come to life. So, we’re back again with two more ideas to give your bestie’s stomping ground a little more of that Zesty charm.
Crayon or Marker Container
Sometimes, the niftiest upcycling solutions are the simplest to make!
If you happen to have kids, you know good and well that they’re not always the best at staying organized – especially when it comes to their arts and crafts.
Thankfully, our bites jars are a paw-fect way to protect all of their crayons, markers, or art supplies.
What you will need:
- 1-2 Zesty Paws® Bites jars (multiple colors preferred)
- Heavy-duty scissors (optional)
- Paint, markers, stickers, or glitter glue
- Regular glue or tape
- One small rectangular piece of construction paper (any color will do)
First, peel off the label on the packaging. Next, have your kiddo write their name on the small rectangular construction paper and then tape or glue it to the middle of the jar.
From there, go ahead and use your paint, glitter glue, stickers, or glitter glue to carefully design the jar and allow it to dry for several hours.
After that, you’re all set! Now, your little one can fill their jar with crayons, markers, and other child-safe art supplies.

Wind Chimes
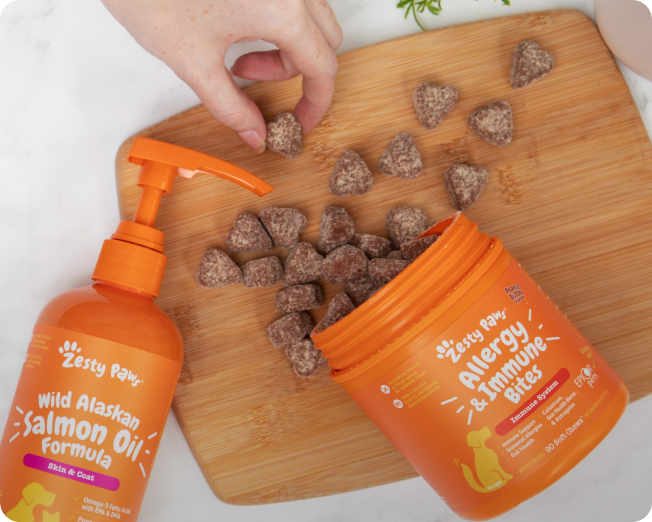
If you’re a fan of our best-selling Wild Alaskan Salmon Oil and you’re up for a hardcore DIY challenge, making a neat little wind chime could be a fun idea you can try once you’re done using the bottle.
What you will need:
- 1 Wild Alaskan Salmon Oil Bottle
- Heavy-duty scissors
- Clear plastic string or thin rope
- Beads, bells, chimes, and/or old buttons
- Glitter glue and/or paint
- Bells or large charms.
First, peel off the label on the bottle. Then, cut the bottom half of the bottle and discard the rest of the bottle.
Next, use the tip of your scissors to safely poke 5-6 small holes around the open portion of the bottle, followed by two holes towards the bottom of the bottle, but on opposite sides of one another. Feel free to use other tools to create these holes, but be very, very careful when doing this step.
Afterwards, you can start tying your clear plastic string or thin rope through each hole. Just make sure each piece is at least 15-20 inches long for the chime “look” to work. From there, you can begin inserting the beads, buttons, or other small bells and chimes to fill up each string with your own unique style. Just be sure to add some kind of knot or stopper at the end to keep everything from falling apart.
Then, attach some thin rope or plastic string to the other side of the bottle, as this will be the hook that will attach to wherever you place the wind chime.
Next, you can begin designing the lid of the bottle with glitter glue, paint, stickers, or anything else that catches the eye. Then, allow all the paint or glitter glue to dry.

Sustainability Saves!
We have much more news to share about our sustainability goals in the future. As this mission continues to evolve in bold new ways, every idea and ambition of ours wouldn’t be possible without you.
We know that sounds super cheesy, but it’s true.
Your incredible stories and passion for pet wellness constantly fuels us to go the extra mile, so we hope that you’re just as excited as we are about what’s to come!